کامپیوتر و اُپن سورس(Computer & Open Source)
آموزش دروس رشته کامپیوتر - نرمافزار اشنایی باسخت افزار سیستم عامل لینوکس شبکه برنامه نویسی معرفی نرم افزارکامپیوتر و اُپن سورس(Computer & Open Source)
آموزش دروس رشته کامپیوتر - نرمافزار اشنایی باسخت افزار سیستم عامل لینوکس شبکه برنامه نویسی معرفی نرم افزارInstall Nvidia Video Drivers and AWN on Fedora 9
Step-by-step installation guide
Nvidia finally decided to release an updated version of its proprietary video driver for Linux systems, one that supports the controversial XServer 1.5, which is present in bleeding-edge distributions, such as Fedora 9. Ok, so this tutorial is here to help actual and future Fedora 9 users to install the video drivers for their graphics cards and, as a bonus from Softpedia, a nice step-by-step AWN installation guide, assuming you have a fresh Fedora 9 installation with the GNOME desktop environment.
Step 1 - Install the Livna repository
First of all, make sure your system is up to date, then install the Livna repository like this:
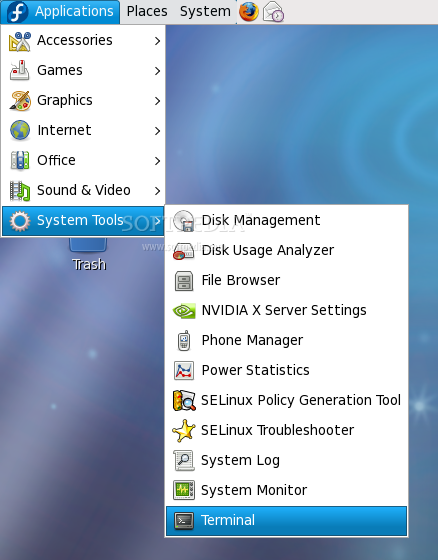
Open a terminal (Applications -> System Tools -> Terminal)...
...and switch to root (system administrator) with the following command:
su -
Type the root password (the one you have set up when you've installed Fedora). Then, as root, type:
rpm -ivhU http://rpm.livna.org/livna-release-9.rpm
Now that the Livna repository is installed, you can continue with the driver installation part.
Step 2 - Install the Nvidia drivers
I presume you did not close the Terminal window; if you did close it, fire it up again from Applications -> System Tools -> Terminal, log in as root and type:
yum -y install kmod-nvidia
To verify if the installation was successfully completed, reboot your computer, log back in, open up the terminal (Applications -> System Tools -> Terminal) and type:
glxinfo | grep direct
If the output of the above command is: direct rendering: Yes the Nvidia driver installation was successfully completed and you can now use OpenGL applications and desktop effects such as Compiz Fusion.
Step 3 - Install the Avant Windown Navigator (AWN)
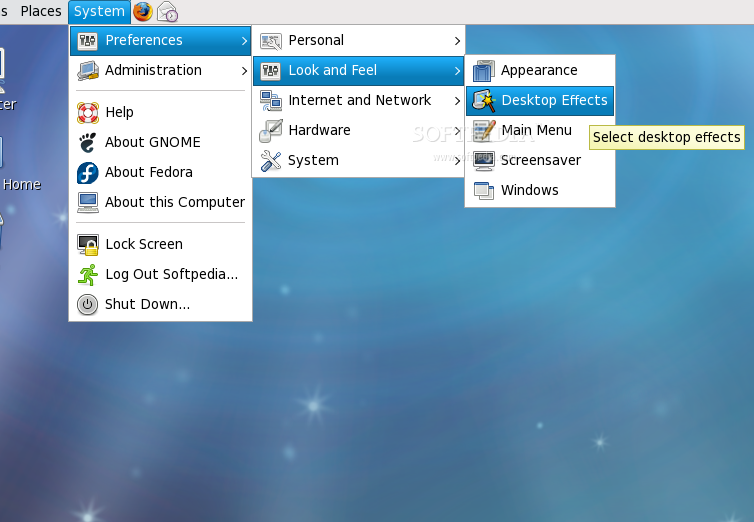
First of all, let's make sure that the desktop effects are working. Go to System -> Preferences -> Look and Feel -> Desktop Effects and enable them.
 |
Now open again the terminal from Applications -> System Tools -> Terminal and type or paste the following command as root:
yum -y install avant-window-navigator awn-extras-applets
Step 4 - Start and configure AWN
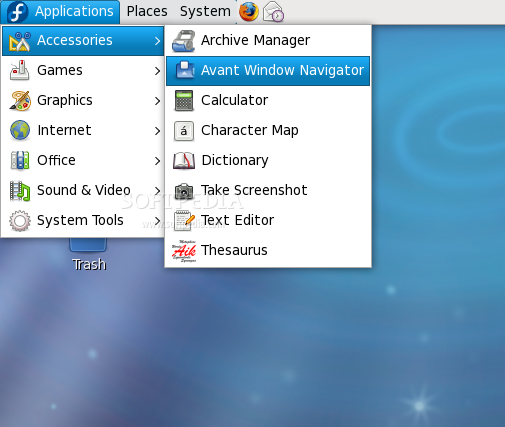
Start AWN from Applications -> Accessories -> Avant Window Navigator.
WARNING: Be aware that AWN will appear over your bottom GNOME panel, therefore you should delete the panel before launching AWN!
Start AWN from Applications -> Accessories -> Avant Window Navigator.
 |
...and voila, AWN on Fedora 9!
 |
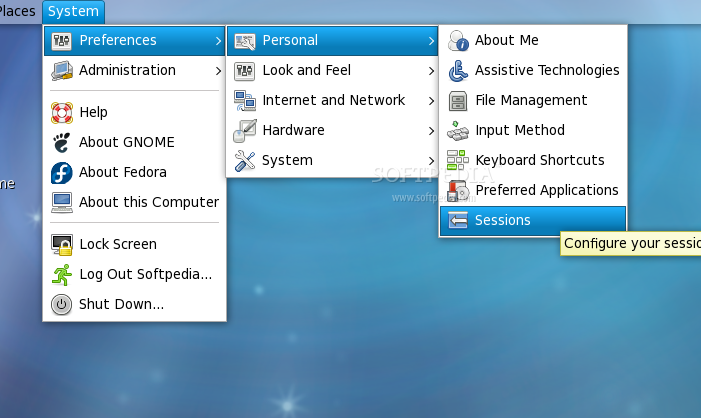
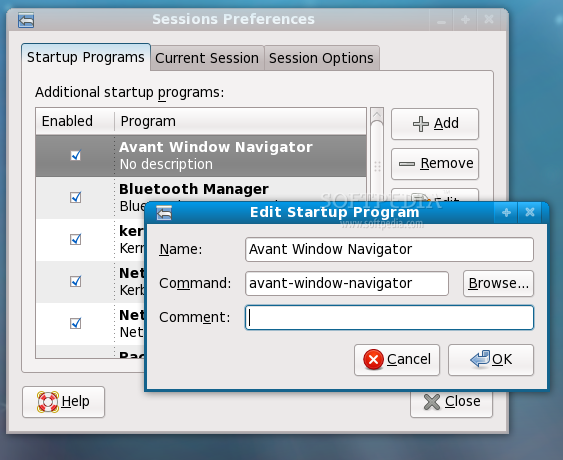
For the Avant Window Navigator to automatically appear every time you log-in, open the Sessions program from System -> Preferences -> Personal -> Sessions...
 |
On the "Startup Programs" tab, click the 'Add' button and fill the fields like in the image below.
 |
That's all folks! Have a nice and modern Fedora desktop
Use dpkg to Install .deb Files
Using the apt-get application is the quickest way to find and install debian packages. The installation part is done by an application named dpkg. Dpkg doesn’t have to be used by apt-get, you can use it manually as well.
From the man dpkg command:
dpkg - a medium-level package manager for Debian
Whatever that means.
In keeping with GNU/Linux system security, only the superuser can use the dpkg application. Dpkg is a typical GNU/Linux application that is controlled by command-line switches. Possibly the most common use of dpkg is to install a local .deb file.
To install a .deb file, become root and use the command:
dpkg -i filename.deb
Dpkg can also be used to:
- dpkg –unpack: unpacks the file but does not install it
- dpkg –configure: presents whatever configuration options are available for the package
- dpkg –remove: removes a package
Some of the package manipulation commands are actually carried out by an application called dpkg-deb. In those cases, dpkg just acts as a front end to dpkg-deb and passes the commands to it.
Dpkg-deb can also be used to manipulate .deb files. Some of the more useful commands of dpkg-deb are:
dpkg-deb –show filename.deb
RPM Commands
This document contains an overview of the principal RPM commands for installing, uninstalling, upgrading, querying, listing, and checking RPM packages on your Red Hat Linux system.
# rpm -ivh foo-2.0-4.i386.rpm
# rpm -i ftp://ftp.redhat.com/pub/redhat/RPMS/foo-1.0-1.i386.rpm
# rpm -i http://oss.oracle.com/projects/firewire/dist/files/kernel-2.4.20-18.10.1.i686.rpm
Used to install a RPM package. Note that RPM packages have file naming conventions like foo-2.0-4.i386.rpm, which include the package name (foo), version (2.0), release (4), and architecture (i386). Also notice that RPM understands FTP and HTTP protocols for installing and querying remote RPM files.
# rpm -e foo
To uninstall a RPM package. Note that we used the package name foo, not the name of the original package file foo-2.0-4.i386.rpm above.
# rpm -Uvh foo-1.0-2.i386.rpm
# rpm -Uvh ftp://ftp.redhat.com/pub/redhat/RPMS/foo-1.0-1.i386.rpm
# rpm -Uvh http://oss.oracle.com/projects/firewire/dist/files/kernel-2.4.20-18.10.1.i686.rpm
To upgrade a RPM package. Using this command, RPM automatically uninstall the old version of the foo package and install the new package. It is safe to always use rpm -Uvh to install and upgrade packages, since it works fine even when there are no previous versions of the package installed! Also notice that RPM understands FTP and HTTP protocols for upgrading from remote RPM files.
# rpm -qa
To query all installed packages. This command will print the names of all installed packages installed on your Linux system.
# rpm -q foo
To query a RPM package. This command will print the package name, version, and release number of the package foo only if it is installed. Use this command to verify that a package is or is not installed on your Linux system.
# rpm -qi foo
To display package information. This command display package information including the package name, version, and description of the installed program. Use this command to get detailed information about the installed package.
# rpm -ql foo
To list files in installed package. This command will list all of files in an installed RPM package. It works only when the package is already installed on your Linux system.
# rpm -qf /usr/bin/mysql
mysql-3.23.52-3
Which package owns a file? This command checks to determine which installed package a particular file belongs to.
# rpm -qpl kernel-2.4.20-18.10.1.i686.rpm
# rpm -qpl ftp://ftp.redhat.com/pub/redhat/RPMS/foo-1.0-1.i386.rpm
# rpm -qpl http://oss.oracle.com/projects/firewire/dist/files/kernel-2.4.20-18.10.1.i686.rpm
List files in RPM file. This command allows you to query a (possibly) uninstalled RPM file with the use of the the "-p" option. You can use the "-p" option to operate on an RPM file without actually installing anything. This command lists all files in an RPM file you have in the current directory. Also note that RPM can query remote files through the FTP and HTTP protocols.
# rpm --verify mysql
To verify an installed package. This command will list all files that do NOT pass the verify tests (done on size, MD5 signature, etc). Where a file does NOT pass, the output is listed using the following codes that signify what failed:
S File size
M Mode (includes permissions and file type)
5 MD5 sum
L Symlink
D Device
U User
G Group
T Mtime
Take for example the following:
# rpm --verify mysql
S.5....T c /etc/my.cnf
This example indicates that file /etc/my.cnf failed on:
File size
MD5 Sum
Modified Time
However, the "c" tells us this is a configuration file so that explains the changes. It should still be looked at to determine what the changes were.
# rpm --checksig foo
To check a RPM signature package. This command checks the PGP signature of specified package to ensure its integrity and origin. Always use this command first before installing a new RPM package on your system. Also, GnuPG or Pgp software must be already installed on your system before you can use this command.